Using CodeRunner
Get started
- Sign in.
- Click Switch project, then load a lesson or import a public GitHub project.
- For a lesson, open its README and follow the instructions. For an imported project, open the files you want to work on.
Switching or resetting replaces your current files. For an imported project, commit and push any work you want to keep.
Robot lessons and imported projects
The WPILib extension can start a simulation, but you should not use it here. Click Start in the Driver Station at the bottom of the page so CodeRunner can use its supported headless simulation setup and connect the controls and telemetry.
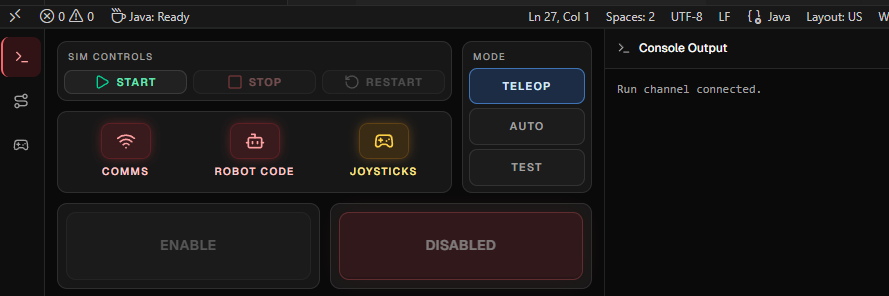
- Click Start in the Driver Station.
- Wait for Comms and Robot Code to turn green.
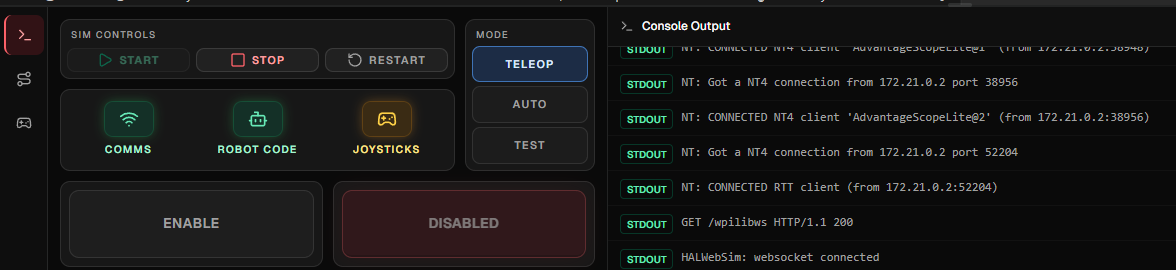
- Select Teleop, Auto, or Test, then click Enable.
- Click Stop when you are finished, or Restart to stop the code and re-run with any changes you've made.
Build output and robot output appear in the Console tab. Use the top-bar AdvantageScope and PathPlanner tabs to switch the tool beside the editor. AdvantageScope opens by default, and switching tabs does not reload either tool.
PathPlanner
For robot lessons and imported projects, the PathPlanner tab opens the path editor. For path and auto editing basics, see the official PathPlanner guide.
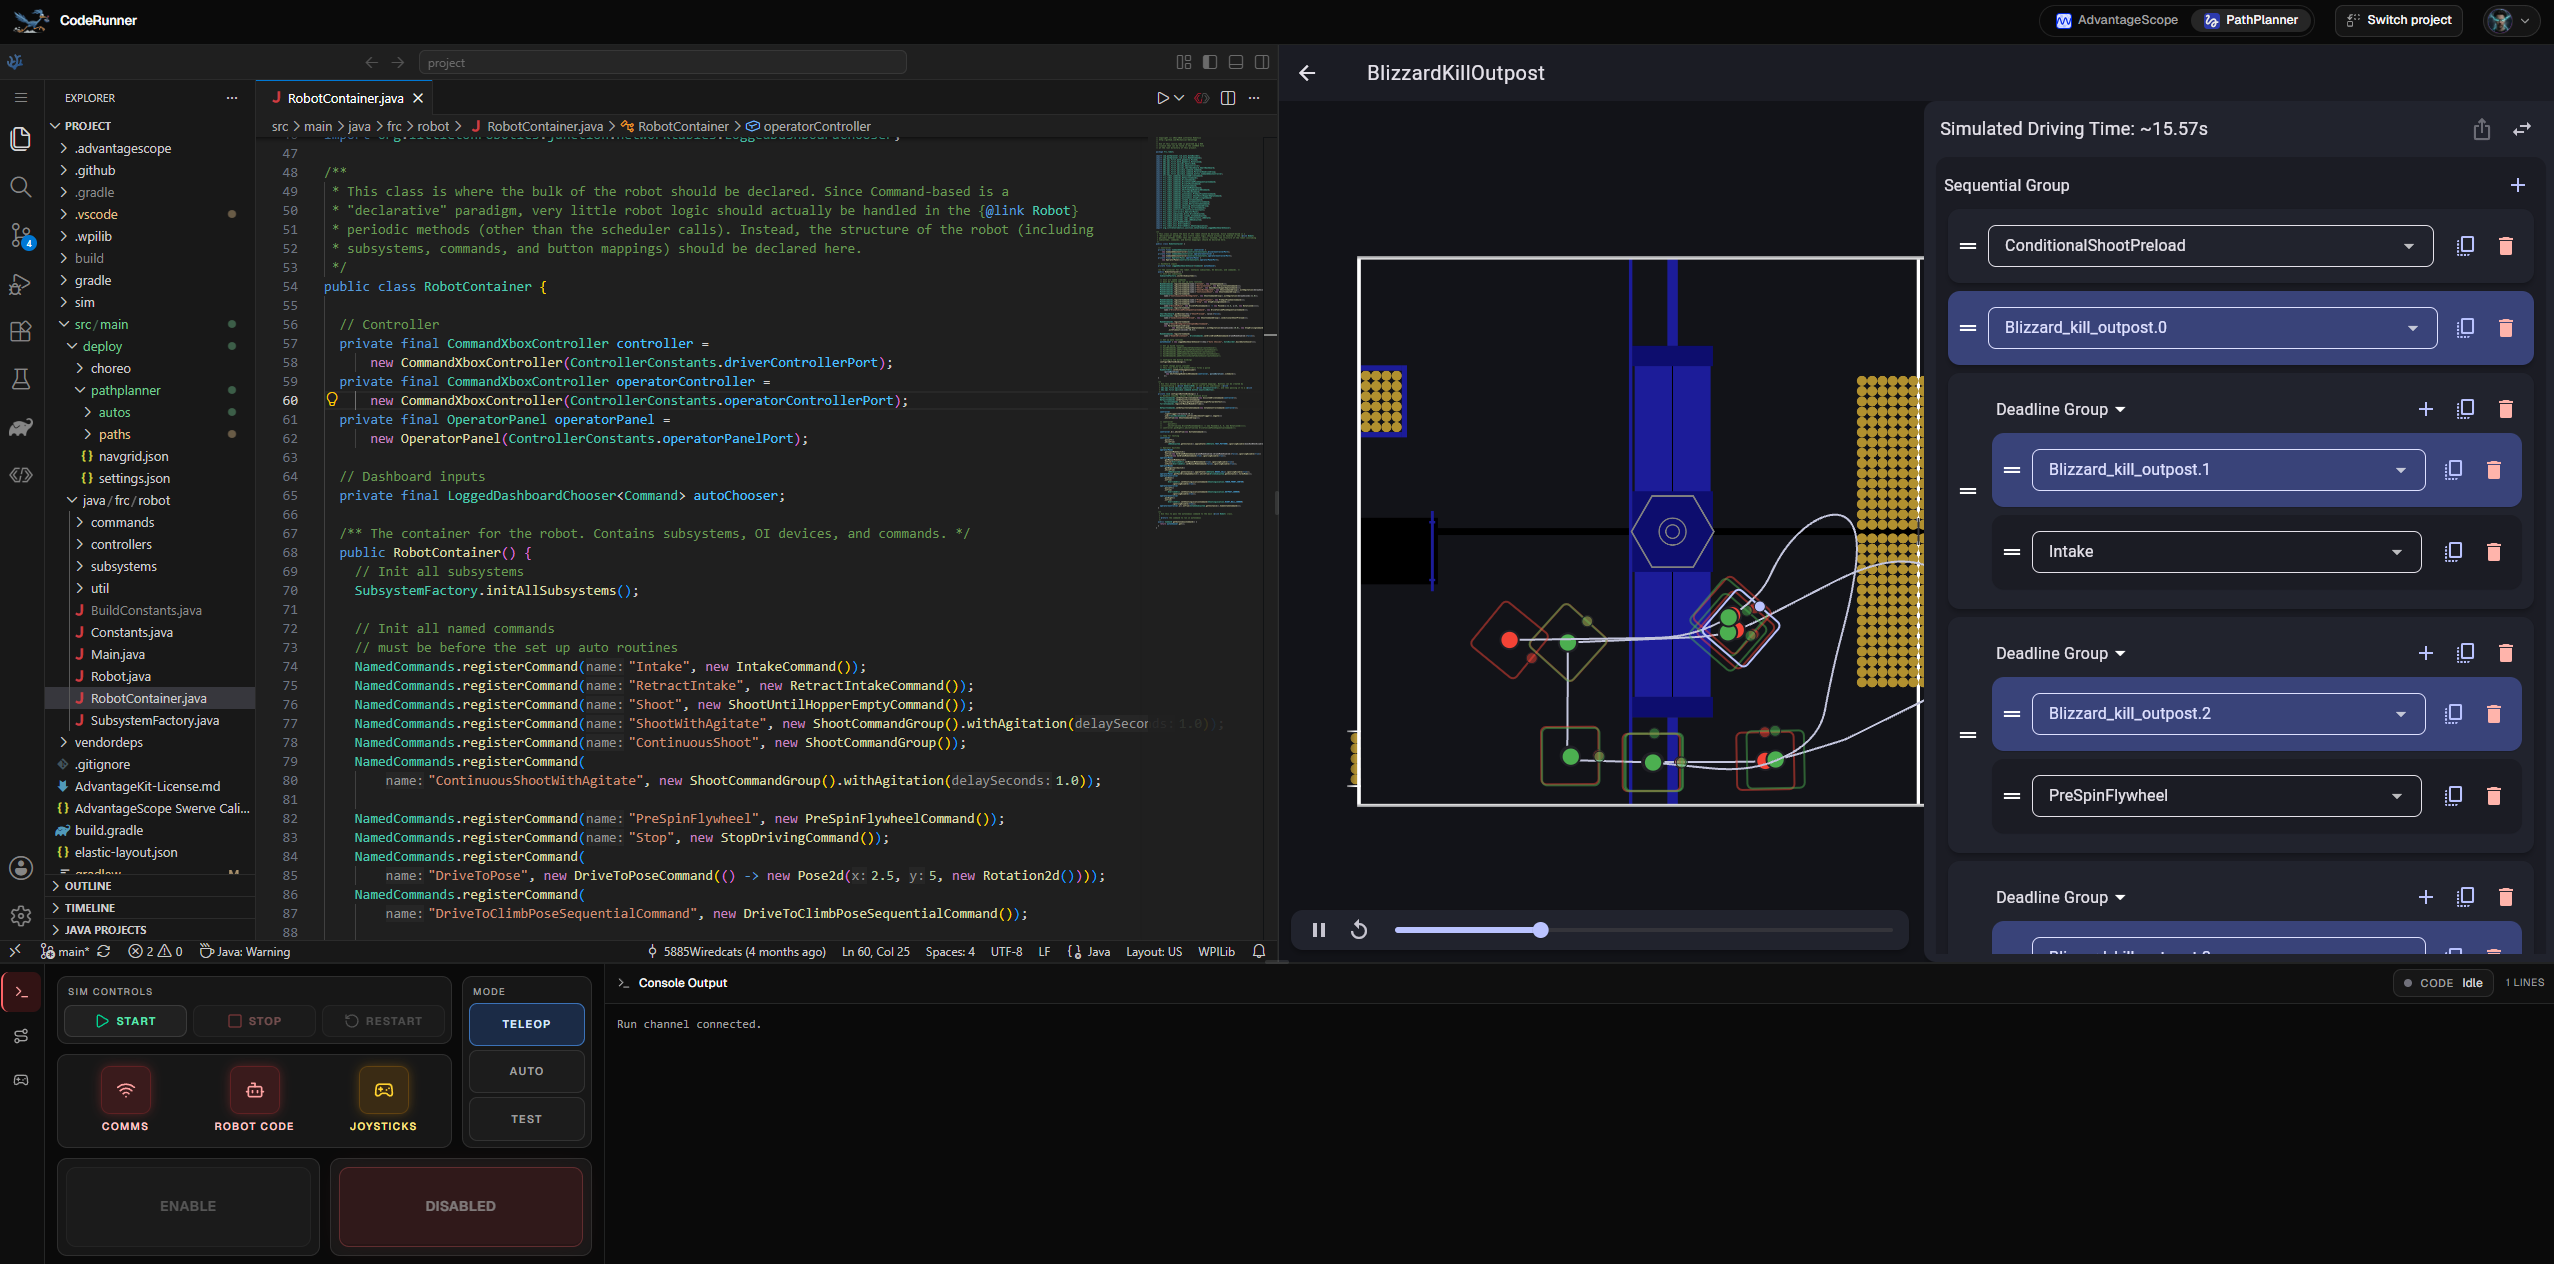
PathPlanner writes to src/main/deploy/pathplanner/** in the current project.
Files under src/main/deploy/choreo/** are visible but read-only.
If you edit a PathPlanner file directly in VSCodium, refresh the CodeRunner page
before looking for that change in PathPlanner. Switching or resetting the
project reloads PathPlanner with the new project's files.
PathPlanner robot telemetry and hot reload are not connected. Use AdvantageScope for simulated robot telemetry.
Console lessons
Console type lessons are pure Java exercises, not robot projects. Because they
do not run a robot simulation, the entire simulation and tool pane is hidden.
The VS Code editor expands to fill the full screen. Use the editor's Run
button to run them.
Explore more
While a robot simulation is running, explore the Driver Station's Auto and Controls tabs. Auto appears when the robot code publishes an autonomous chooser; Controls lets you select a gamepad or keyboard input to control the simulation.